

How To Make An Animated Gif In Coreldraw
Blithe GIFs tin can add a great bargain to your project and are a favorite item in online advertising, where one creates banners of diverse types. In this tutorial nosotros will create a GIF animation using CorelDRAW and PHOTO-PAINT.

Hither's the finished animation.
To begin, we will start in CoreDRAW by creating some text on a textured groundwork. To simplify the file creation, we have the ability to use multiple pages in CorelDRAW. The only affair that will modify is the text.

To elaborate, for this animation, we will create a master size of 728×xc pixels, which we will maintain throughout the unabridged animation. Note the number of pages on the bottom left of the screen shot.

Here is the sequence of images that we will use for the animation.

The next pace is to get to each page and make sure all the elements are selected (Ctrl+A). From at that place go to File: Export (Ctrl+Eastward). In the list at the bottom of the dialog box, make sure that the Selected merely checkbox is enabled. In the Save as type popup, choose PNG and click on Consign.
Note: Save each paradigm in sequence. i.e. frame1.png, frame2.png. All of these images need to be stored in the same folder.

This brings up the Convert to Bitmap dialog box. In this step, there are several things to observe:
- Make sure the dimensions friction match the size of your animation, in this case 728×90 with a screen resolution of 96 pixels/inch
- Enable the Maintain Attribute ratio checkbox
- Enable the Anti-aliasing checkbox
- Set the Color fashion to RGB Color 24-bit
NOTE: Do non relieve palleted 8-flake files. These won't work in an blitheness. Y'all must commencement with 24-chip files starting time, then relieve those every bit an blithe GIF once the sequence is consummate. Now that we have saved the images as bitmap files, nosotros now need to launch the PHOTO-PAINT application, which is a bitmap epitome editor.

To get started, click on File: Open. Choose the folder where the file is stored and double-click on it. When it opens in PHOTO-Paint, go to Movie: Create from document in the menu bar. The paradigm is now the offset frame.

This besides brings up the Movie docker on the correct of the workspace. Note that at the right side of the image, the time is prepare to 200ms.
We will now add frames to the blitheness coming direct from the image files without opening them first. To do this, go to the main menu and click on Movie: Insert from file.
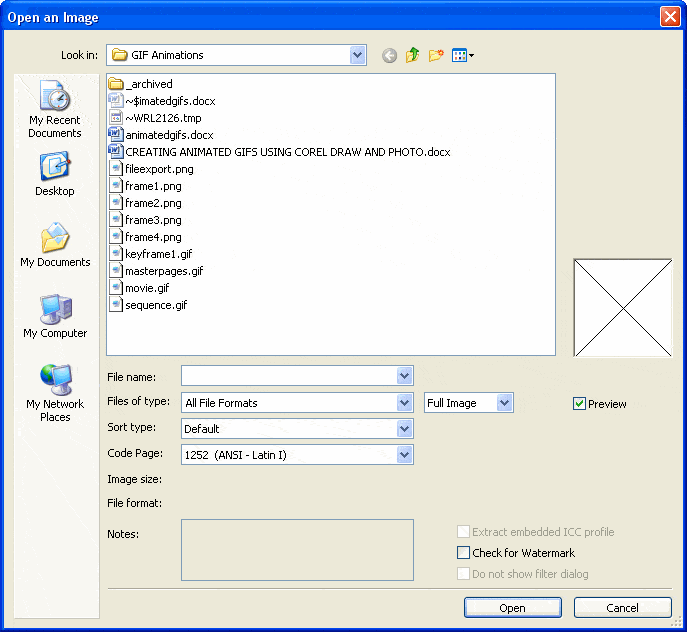
This brings up the Open up an Image dialog box. Cull the file (frame2.png) and click on Open.

This brings up the Insert File dialog box, which governs the position of the frame in the animation. Here, we want to accept the default setting settings, which are:
Insert: After
Frame: 1
Click on OK to accept.

Continue using this procedure to load all the frames. Hither is what the Movie docker looks like with all the frames loaded.
To get a feeling for the animation, click on the Play button at the meridian of the Pic docker window. The animation will play back in the active window area at a consistent frame charge per unit of 200ms. After some experimenting, I changed the frame rates to:
Frame1: ii,500ms Frame2: 200ms Frame3: 200ms Frame4: 200ms
In the Movie docker are thirteen frames. This is because I loaded frames two through four, four times to create a blinking effect in the animation.
Now information technology's time to save the movie.

To do and so, click on File: Save as. Choose the folder where y'all want to salvage the file. From the Save as blazon listing box, choose GIF Animation. In the Sort blazon box, choose Blitheness. Click on the Relieve push

In the Convert to Palleted dialog box, accept the default settings and click on OK (you tin can reduce the number of colors here if your sequence but uses a few colors, which volition make the file size smaller).

The GIF 89 Blitheness Options dialog box gives y'all a keen deal of control over the blitheness. The get-go thing to do is activate the Frame Settings tab and apply the following settings:
Transparency: None
Enable Use global (uses the same color palette for all frames)
Frame Delay: For the start frame, I used 250/100 of a second, for frames two to 4, xx/100 of a second (these were set up in a previous stride and do non need to be changed here).
Leave all other settings at their defaults.

Next, click on the File Settings tab and use the following settings:
Page Size: Automatic Colour Options - Convert To: 256 Frame Repetition: Loop Frames enabled. Gear up Finish After to: 5 Repetitions Test the Animation using the Preview push button. When you lot are satisfied, click on OK.
As a final step, load the animation in your browser to run into how it plays back. If necessary, get back into PHOTO-PAINT to suit it farther.
Conclusion
You accept now learned the basics of how to create GIF animations with CorelDRAW and PHOTO-Paint. There is much more that you can do. I invite you to explore this procedure in more depth.
Source: https://www.htmlgoodies.com/design/web-developer-tutorial-create-animated-gifs-with-coreldraw-and-photo-paint/
Posted by: feltthook1983.blogspot.com
0 Response to "How To Make An Animated Gif In Coreldraw"
Post a Comment